

How Much Chalk Paint Do I Need To Paint A Dresser
 Howdy lovely Friends! Today I'1000 sharing how I paint a piece of furniture using chalk pigment, from beginning to finish.
In this mail service I will cover everything you could perhaps need to chalk paint a piece of piece of furniture!
UPDATED October 2020:
My product preferences have evolved a flake since this was written, then I take updated this post to reflect those changes. Notwithstanding, my method has pretty much stayed the same!
I accept as well added a video…look for that at the bottom!!
I hope you find this tutorial helpful!
Because I use chalk pigment on most of my projects, I become a lot of questions about the process of painting article of furniture with chalk paint. I am ever more than happy to respond whatsoever questions that come up my way, but I thought information technology was about time I put together one helpful mail that I tin can refer my readers to. So let's get started! I have included some chapter links and so you can notice the products I use. Click here to read my total disclosure policy.
This is my model for today:
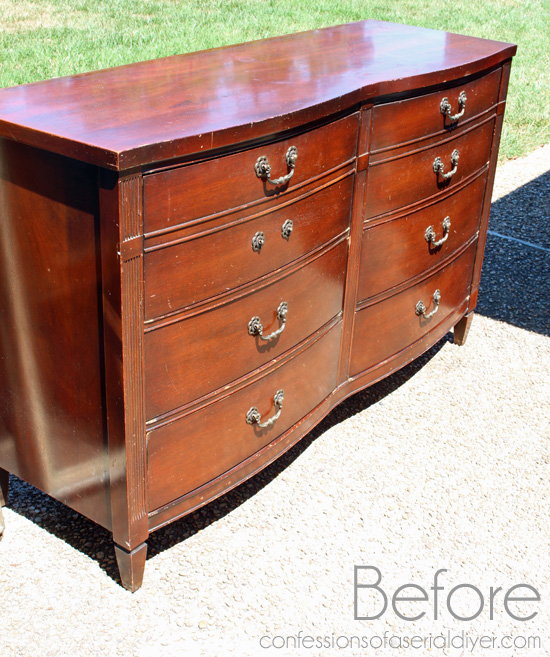
She's a gorgeous $40 yard auction score that I idea would exist perfect for this tutorial.
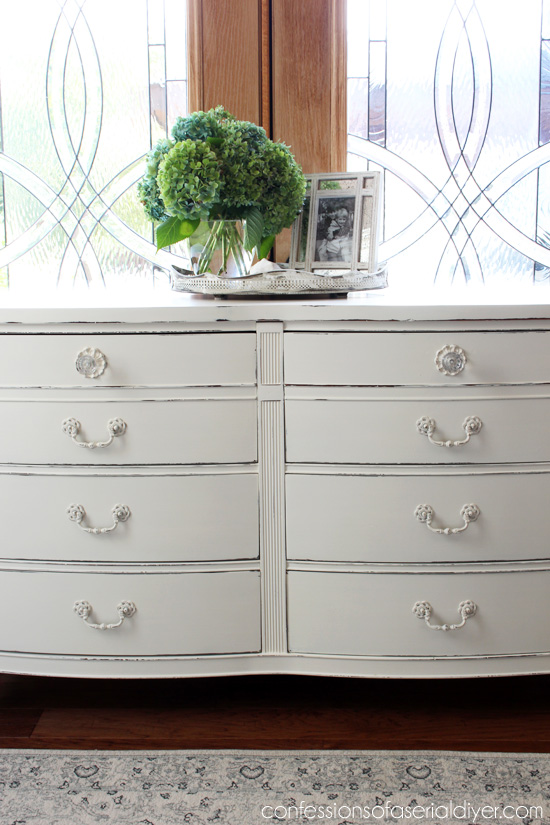
Here is a reminder of how she turned out:
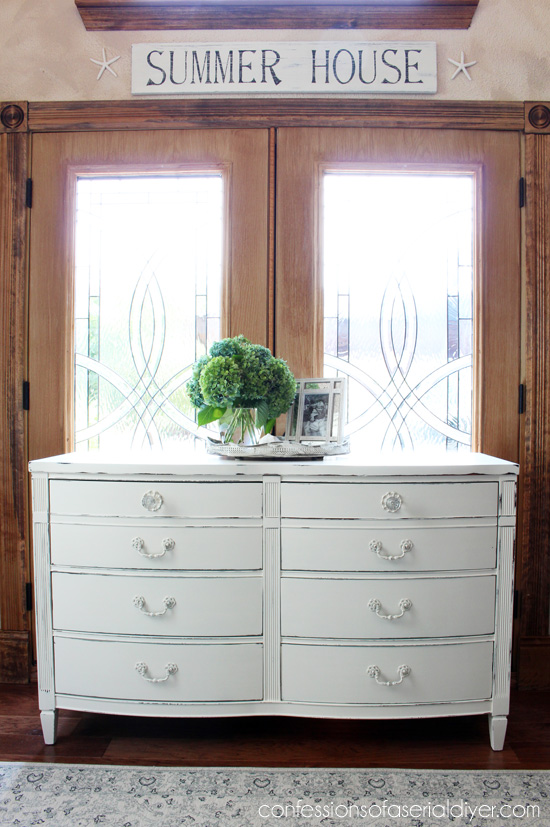
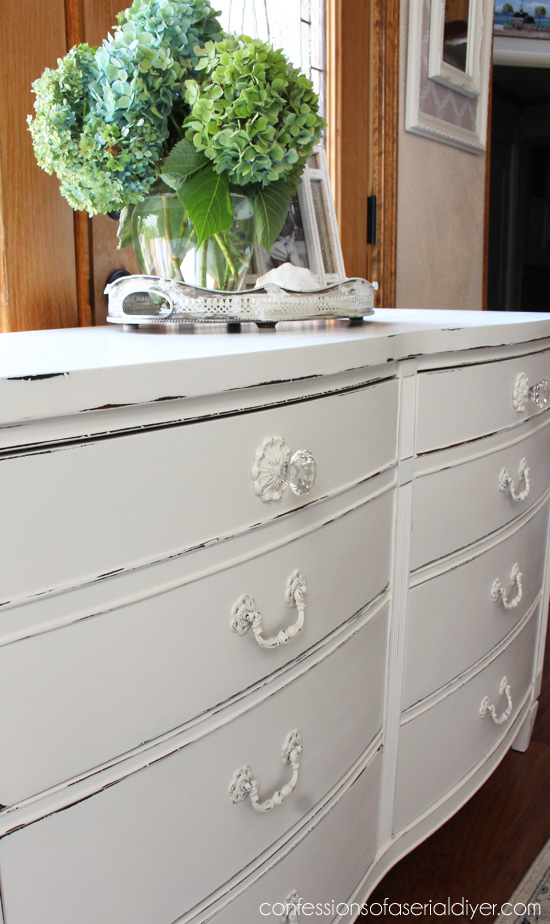
You lot tin can come across more than of this makeover HERE.
This is how I pigment a piece of article of furniture from commencement to stop, with chalk paint:
Select Your Pigment
Let's kickoff by choosing pigment. For the longest time, I mixed my own chalk paint using myget-to chalk paint recipe since I sell my pieces and it is very cost-constructive. It works great and I have painted many pieces using this recipe.
If yous would rather utilise pre-mixed chalk-manner paint, my favorite is Dixie Belle. I honey their products so much that I became a retailer. You can observe their products in my Etsy Store HERE. Their pigment has amazing coverage, they take about 70 colors to choose from, and in that location is no mixing and measuring involved.
Buy a Quality Brush
Now you demand a skillful quality paintbrush. There are two that I use, a 2″ Angle Purdy Paint Castor:
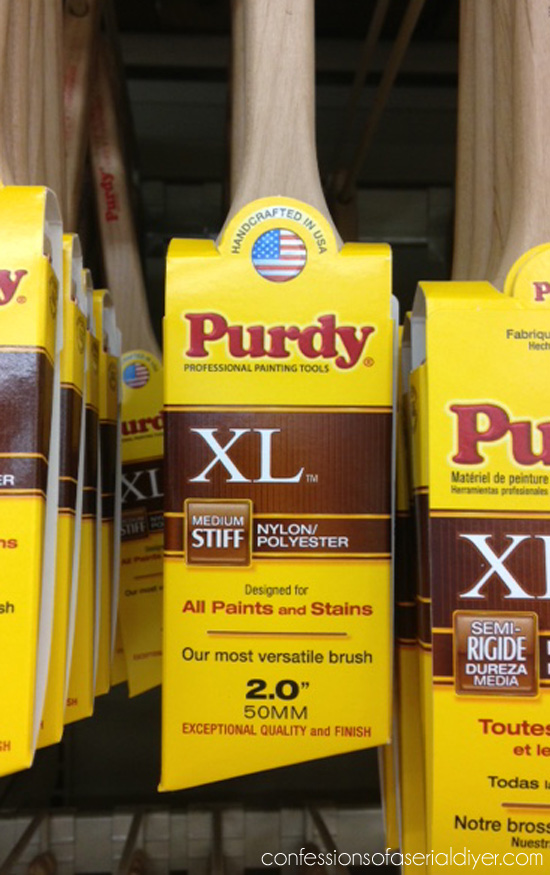
This photo is of the long handled one, but I prefer the brusk XL Cub version. They will last for years. They are softer at the ends than other brands, allowing the paint to glide on more smoothly and with fewer castor marks. Although you lot tin apply a roller with chalk pigment, I usually simply use a brush. (Clean with warm water.)
And I also love Dixie Belle'due south mini angle which is very like:
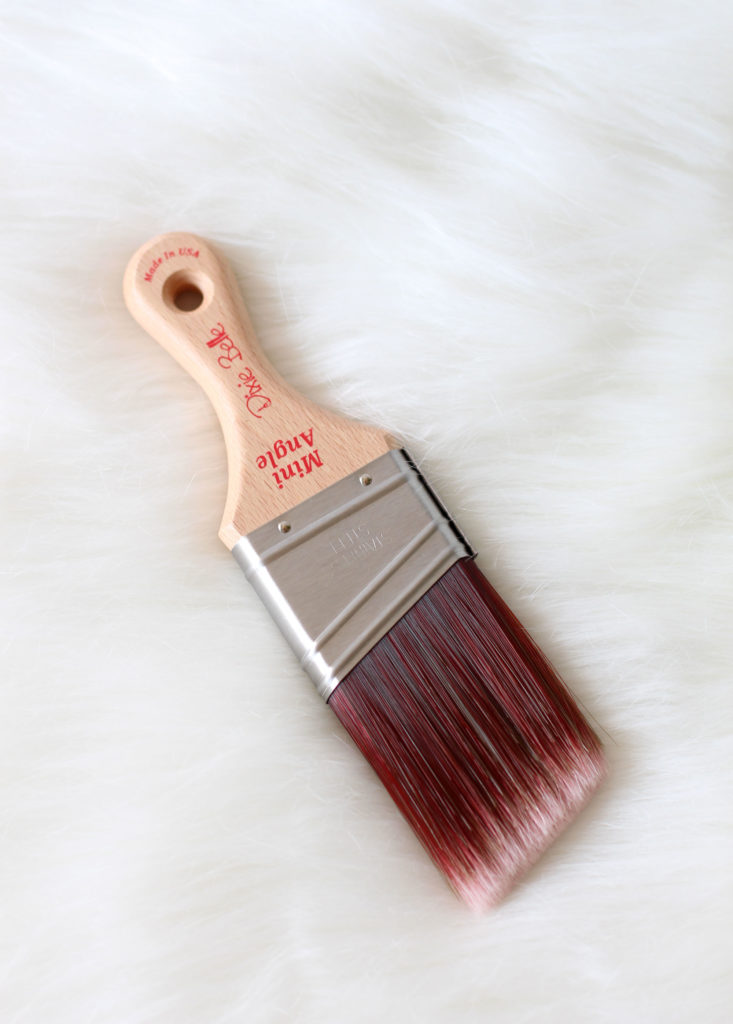
If you lot adopt a not-angled brush, their regular mini is bully too!
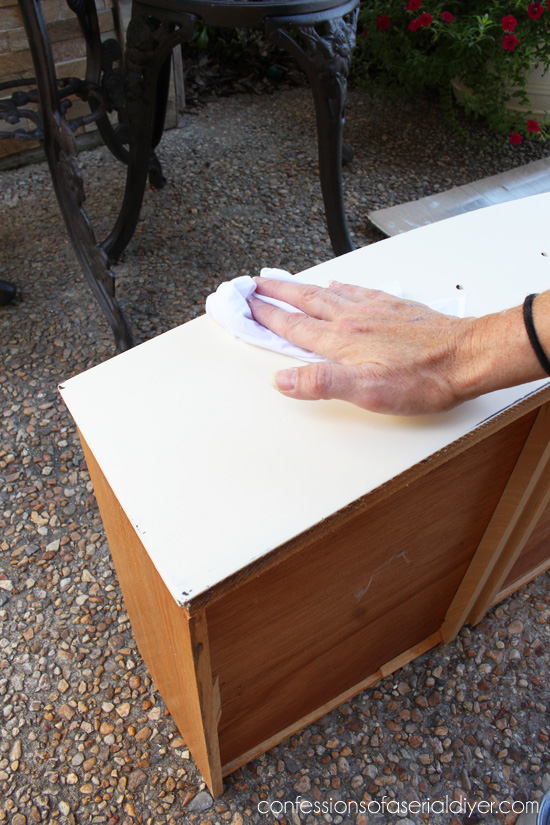
Clean Your Masterpiece
The first affair you'll need to exercise is give your soon-to-be masterpiece a wipe down. I used to employ cleaning wipes like Lysol or Clorox wipes or even the generic brands which worked as too, nevertheless with all the joys that came with 2020, and so did the inability to find said wipes. I now employ Dixie Belle'south White Lightning cleaner and it works fantastically.
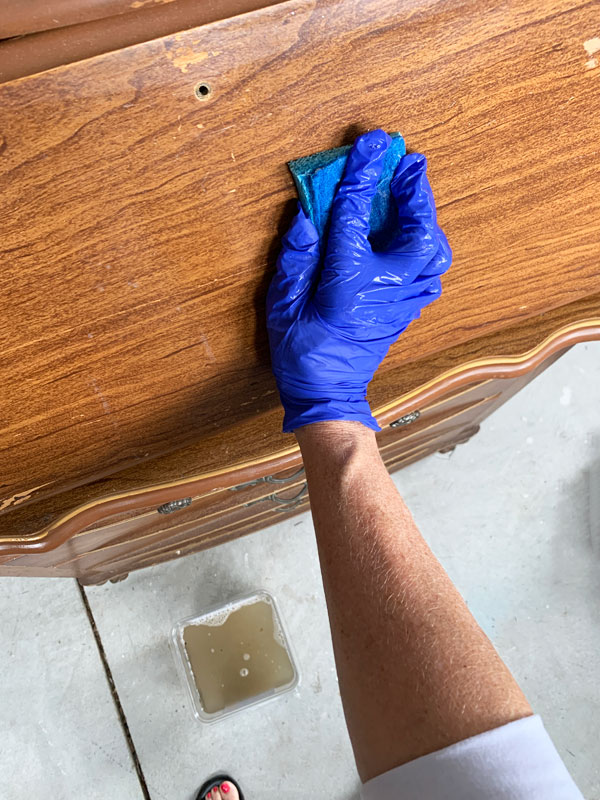
Simply mix one TBSP of White Lightning with one-half a gallon of warm h2o in a pocket-size bucket and make clean with a fabric or sponge. Then alter out the water for fresh water and wipe downward once more to rinse.
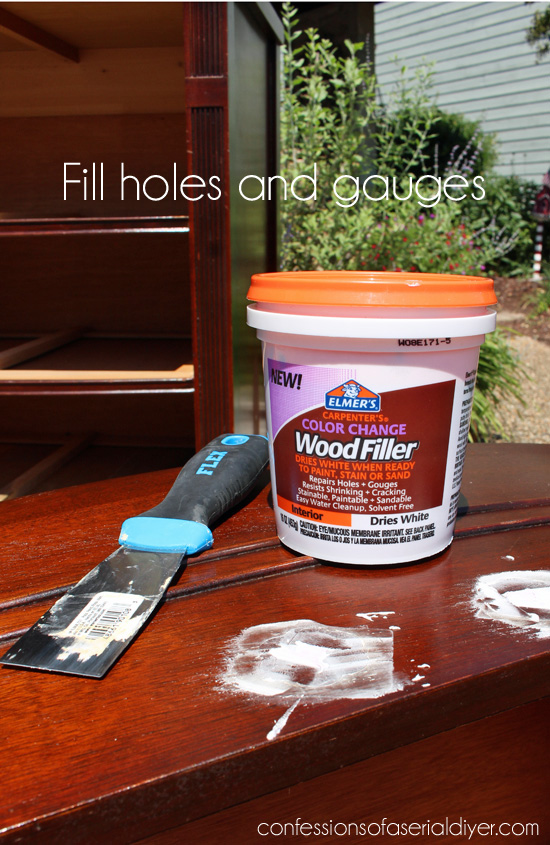
Patch Holes, Gouges, Scratches, etc
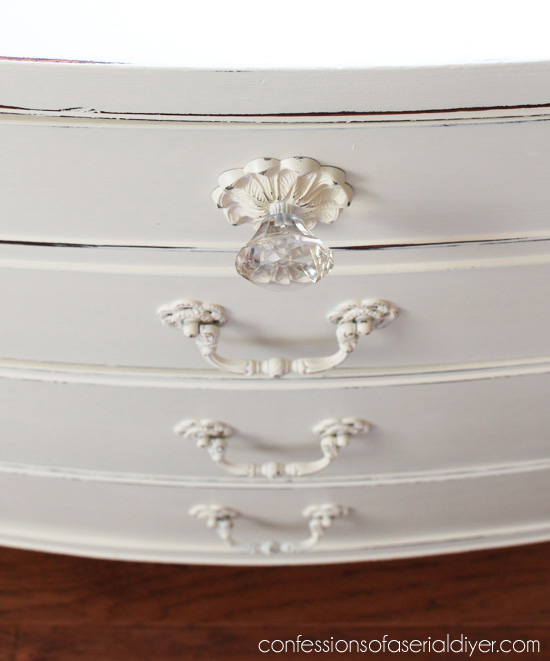
Look your piece of furniture piece over for any gouges or deep scratches that need filling. This dresser had a pretty deep ring on top, several deep gauges, and some missing veneer. I likewise planned to swap a couple of the original drawer handles out for unmarried glass knobs since one was missing, then the one-time holes needed to exist filled.
This is what I used for this piece: Elmer's Wood Filler and a putty knife…
This is what I use these days:
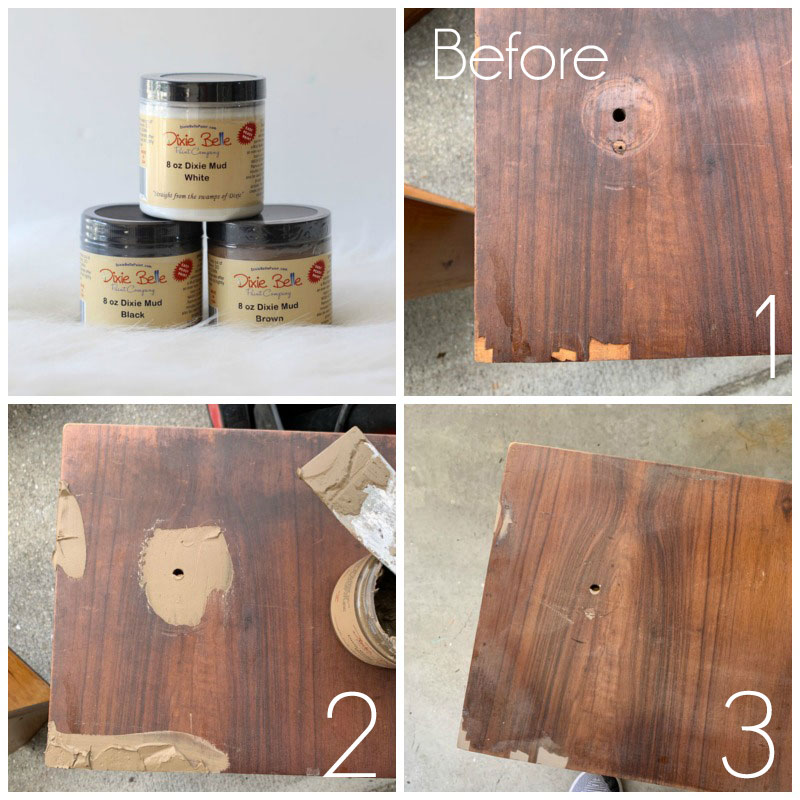
This is Dixie Mud and it is available in 3 colors.
I use 220 dust sandpaper to sand the surface smooth:

I cut these sheets in four and wrap each piece around an old sanding block:
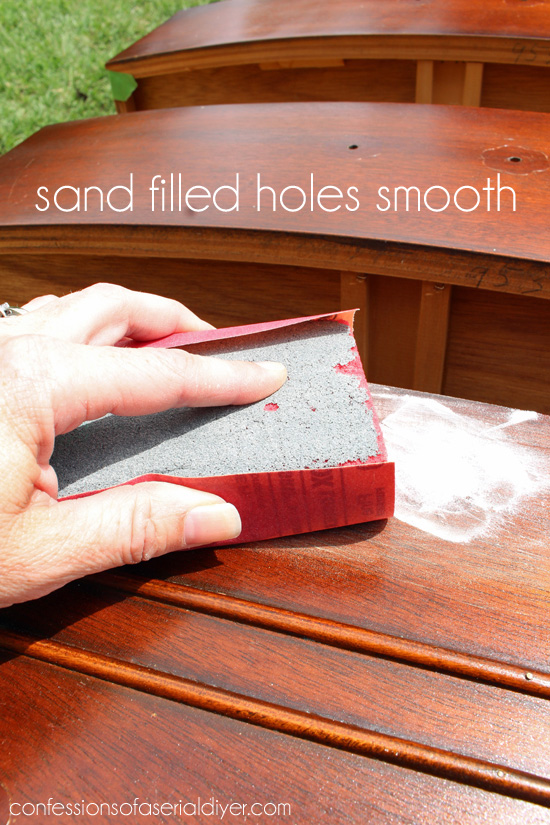
To see if it is smooth enough, run your fingers across the surface with your eyes closed. Yous shouldn't be able to experience where you patched. You may need to add a trivial more filler a second time, simply that should do it. The glass knob in the photo beneath has a patched hole on either side, simply you would never know.
(You tin skip the patching process on gouges etc if you are going for a really distressed wait every bit they would only add to the distressed look and feel.)
Tape where Needed
The only thing I really ever tape off is the sides of the drawers. I like FrogTape for this.
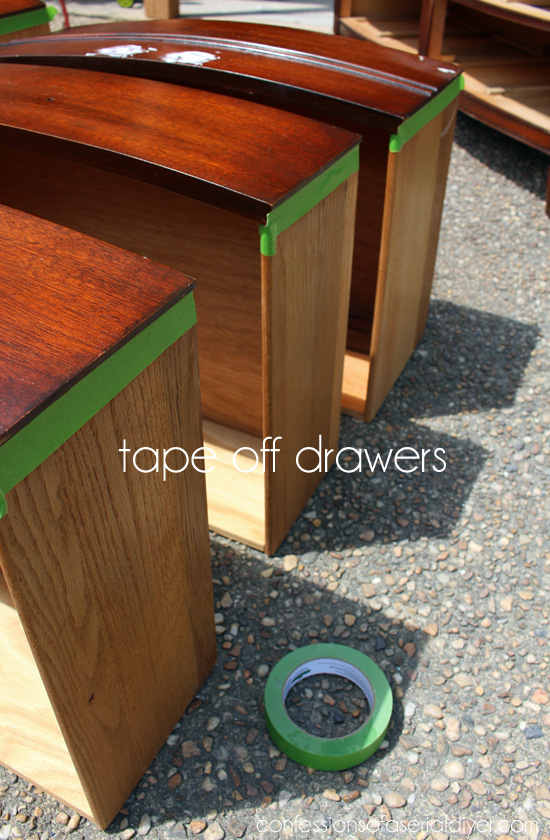
I generally do non paint the sides or the insides of the drawers on whatsoever of my article of furniture pieces. For i, it'southward more work and why make it harder? And unremarkably, the drawers are in great condition. (I almost always line the insides though, more on that at the stop.)
Do I need to Prime or Sand?
The general respond with chalk paint is no.
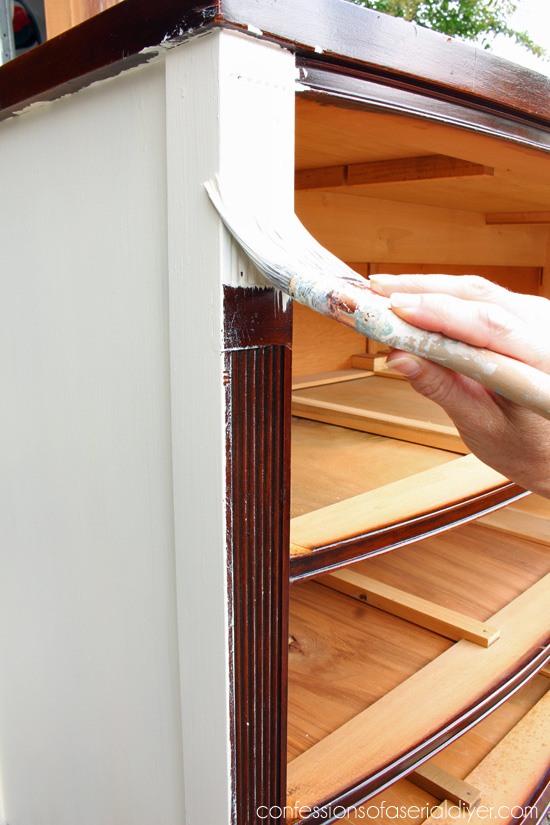
However, if y'all have an older slice that is cherry or mahogany, y'all will likely experience the dreaded bleed-through. This will happen no matter which blazon of paint y'all use. Examination it in a small, inconspicuous surface area first. Hither I started on the side, at the bottom of this dresser and as you lot tin see, I got bleed-through:
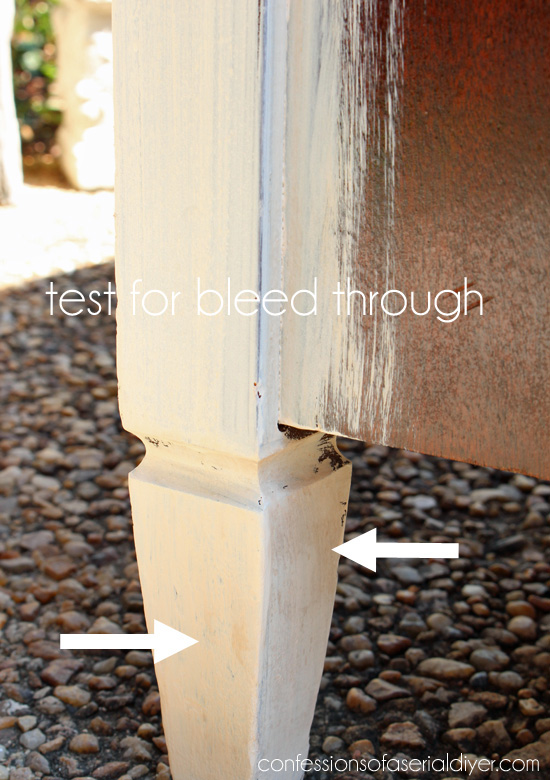
That will bleed through every layer. Don't panic! There is a set.
All this dresser needs is a coat of my favorite primer: Dominate by Dixie Belle. It comes in both clear and white. Allow it to dry out several hours or overnight if y'all tin can. The key is allowing plenty of dry out time before proceeding with paint. On rare occasions I have had to employ a second glaze before painting. You lot can also spot-prime if you only have a couple of spots that are bleeding through:
Some other selection is Shellac. Shellac is stinky, so if you choose to apply it, exist sure to use information technology outside or in a very well ventilated area. The Boss is very low-odor. Both are fantastic for sealing in super musty odors likewise. (Both tin can exist applied correct over paint if you lot've already painted before yous discovered drain-through.) Yous can also utilize a traditional primer as well.
As for sanding, the general reply again is no. Nevertheless, if you accept a super slick surface or not-porous surface like laminate or glass, you may want to apply a coat of Slick Stick first. This will help the paint to attach better to those surfaces. Most forest surfaces exercise non require this prep!
Permit'due south Paint!
Now we're ready for paint!
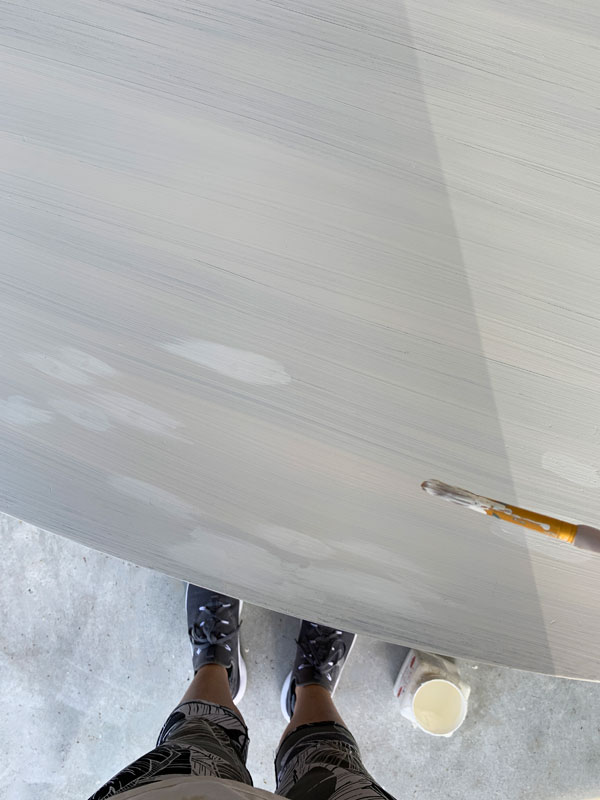
When painting a dresser or tabular array, I like to start at the bottom. Since the meridian will go the most attention, you'll want that to look perfect, and then I leave that for last.
Pigment in long sweeping strokes, going with the grain.
On a horizontal surface, attempt to go from side to side without stopping, ever keeping a moisture border.
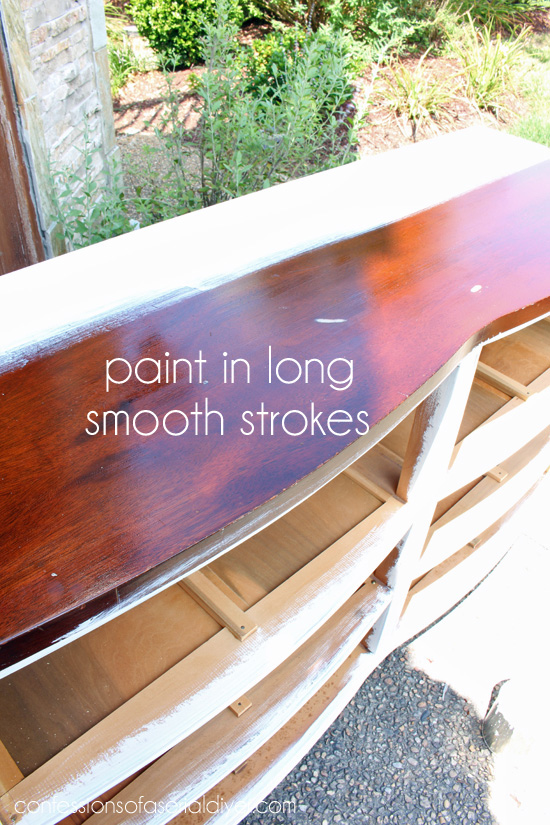
Chalk paint dries fast, actually fast, so you accept to piece of work chop-chop.
How many coats do I need?
If you are painting something white or off white over a dark slice, yous volition probably need iii coats for solid coverage. Just considering the paint dries really rapidly, yous don't have a long wait in between coats. If you desire your piece more distressed, you may be happy afterwards only two coats. Darker colors accept excellent coverage and rarely demand more two coats.
(One exception is Dixie Belle'southward Fluff. It is more of a vintage white and considering it has some pigment in it, it gives great coverage in ii coats.)
*Your piece WILL look terrible after the commencement glaze. Accept organized religion and go along going!
The 2nd and third coats will go on more than smoothly if you add together a tiny fleck of water to your paint. (I usually forget.) So if you find the subsequent coats to be a flake harder to work, you can either utilise a continuous mister and spray it to keep information technology moist every bit you go, or you tin can dip your paint brush in a loving cup of water near every tertiary or quaternary pass before dipping it into the paint. I am a fleck heavy handed with the paint, so I do not unremarkably have any bug.
To go along your brush fresh between coats, wrap it saran wrap:
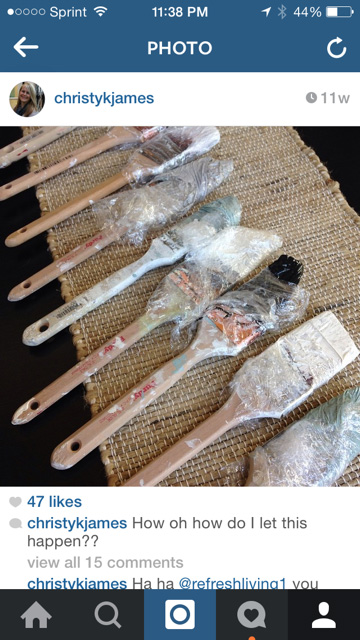
True story! (You can follow me on Instagram Here!)
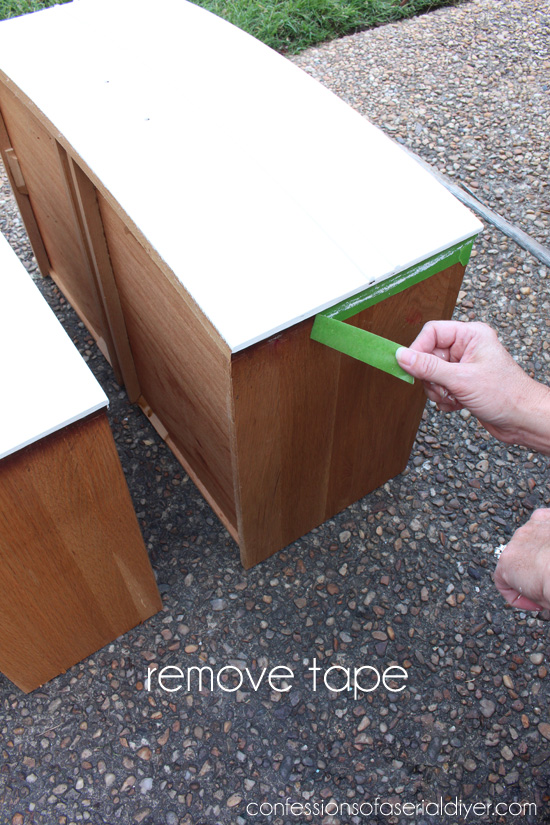
Remove Tape
Time to remove any tape.
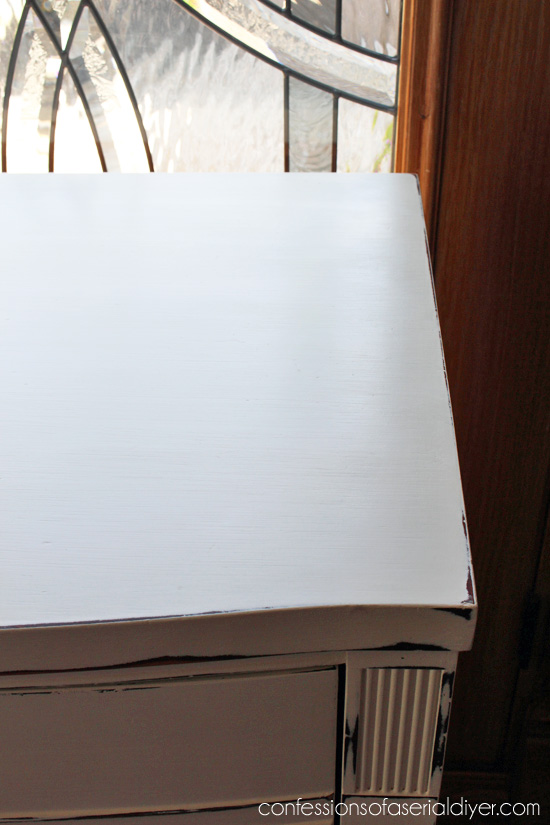
Sand
Your surface will feel a fleck rough to the bear upon after painting with chalk paint. You will need to lightly sand across all surfaces, applying a little more pressure level on edges and details where you want a distressed look. For this I employ 220 grit sandpaper. Usually, I hand sand like I did on the holes I patched before, simply for this piece, I used my orbital sander:
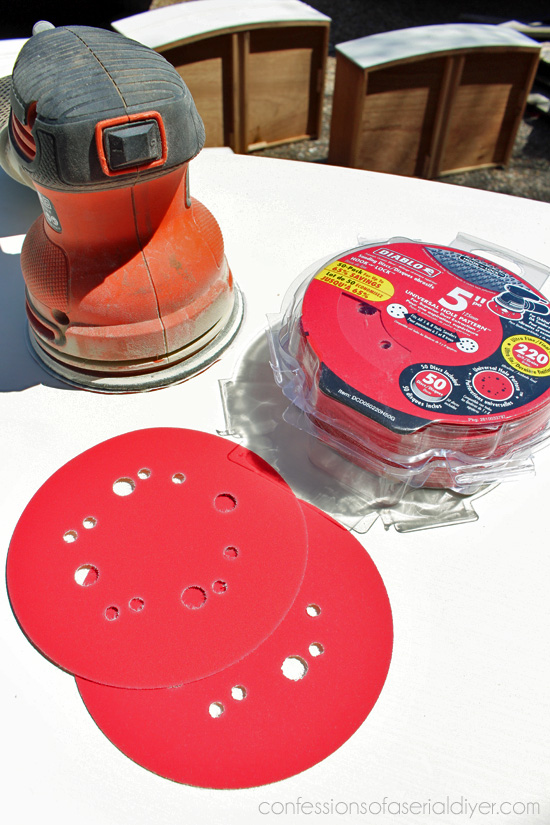
(Don't forget to vesture a mask!)
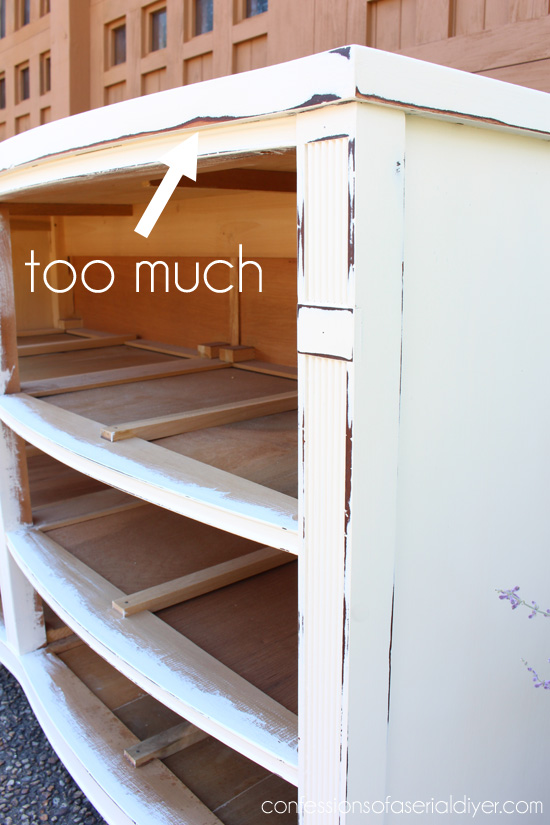
This sander does a nice even job on the peak and sides. Y'all will have less control though, so if y'all want very minimal lamentable, I recommend sanding by hand.
See hither where I sanded a chip too much:
After all surfaces are polish to the touch, I use a shop vac with a brush attachment to vacuum up all the chalk pigment grit from the surfaces.
Choosing a Sealer
Castor-on or Wipe-on Sealer
I used to utilise wax for virtually of my article of furniture pieces, including this dresser, because I had a difficult time finding a sealer that didn't xanthous over white paint, and I use a TON of white paint. Then I discovered 1 fabricated by Dixie Belle. It was a game-changer for me! They actually have 2.
The first is their Clear Glaze in a satin finish. This is platonic for pieces that you want to protect but that won't get a ton of heavy use. You lot can utilize it with a brush made especially for sealers or with Dixie Belle's applicator sponge.
Hither is just one of the many projects I have used their Clear Coat Satin sealer and sponge applicator on:
And below is a video tutorial of how I used the sponge to apply sealer to a table:
If yous take trouble viewing, detect information technology on YouTube HERE.
The sponge is so easy to employ, just exist careful you don't allow any liquid to pool in crevices of curvier areas, as those areas will yellow. If that happens, just pigment over them, and reseal.
The second sealer Dixie Belle has is chosen Gator Hide, which is a more heavy-duty sealer that volition give your pieces a waterproof stop. This option is great for loftier traffic pieces, and I take fifty-fifty used both on different parts of the aforementioned slice at times.
Wax
Wax is another choice and what I used to seal this dresser long before I discovered the Satin Articulate coat. The wax will bond with the paint to create a long-lasting durable terminate. It will deepen and heighten the color of your paint, but information technology won't alter the colour. Wax takes 21 days to fully cure, and then use your piece of furniture piece with care until so.
I used Annie Sloan's clear soft wax for this dresser, but considering it is oil-based, information technology has a very stinky odour to it. Dixie Belle'southward Best Dang Wax has very low odor and works equally likewise.
You volition also need a wax brush and/or a couple of soft clean cloths. I buy rags in the paint section at Lowes in these large bags:
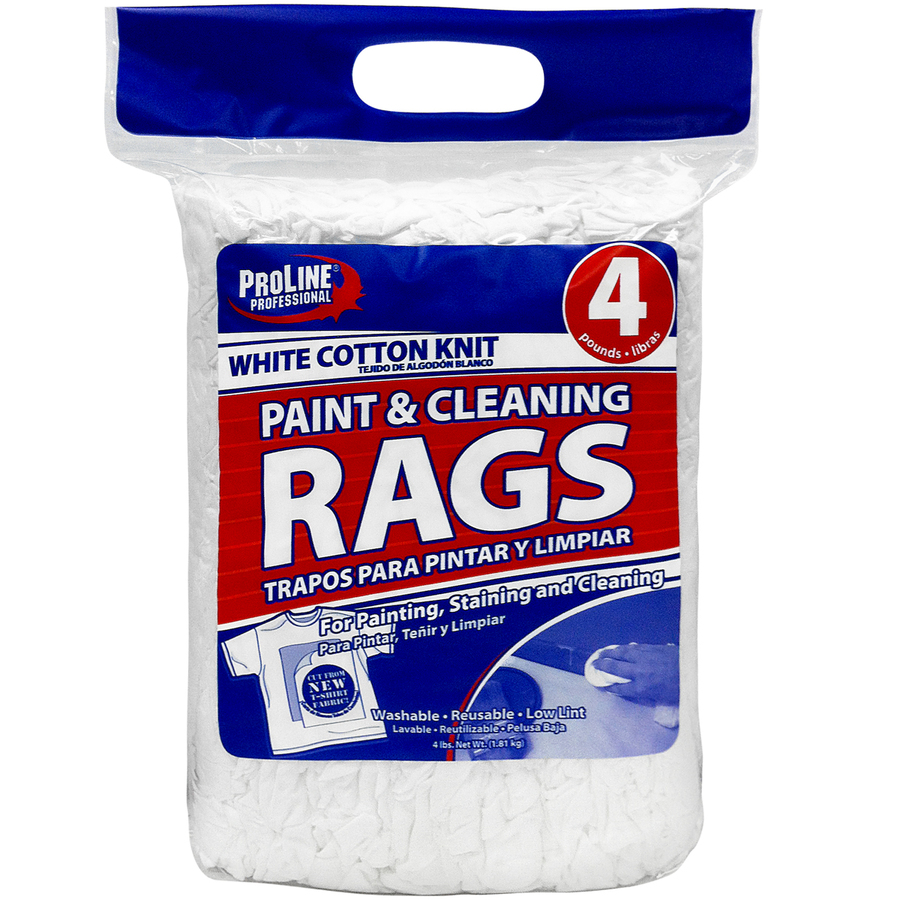
They are perfect. I usually use a a clean soft material, but you tin also apply a wax brush.
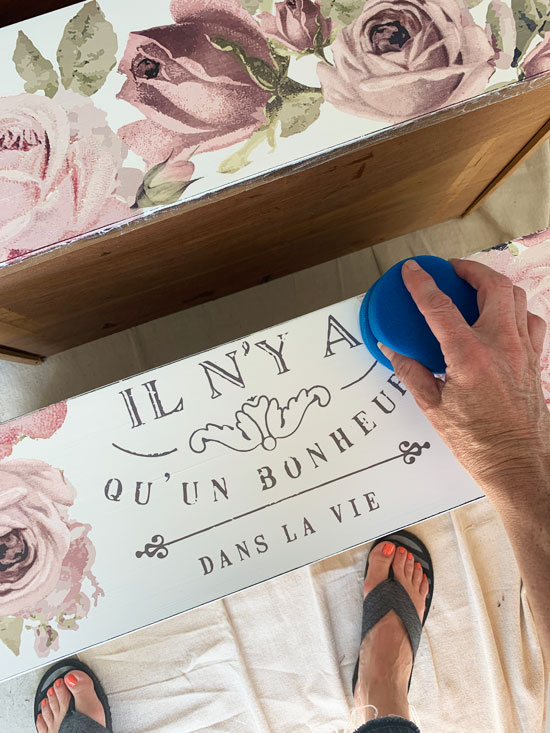
Applying the Wax
Dip your cloth or castor in the wax and apply to the surface, working in small sections. Then vitrify it into the surface. On this drawer, I started across the top going back and forth pushing the wax into the surface.
Simply a few strokes dorsum and forth and y'all will be able to experience how smooth the surface is. If it is still tacky or sticky, proceed to wipe until polish to the touch.
For a drawer like this, I actually would encompass the whole surface with wax, then buff it off. For a larger surface, I would work in sections, moving dorsum and forth beyond the surface. Try not to stop in the center equally you will experience the wax build up in that location a flake. Attempt to go from border to edge, working quickly. Y'all will need to switch cloths every bit wax begins to build up.
After you have covered the entire surface, await about 10-15 minutes and so go back with some other clean soft cloth and buff for more sheen.
If yous see streaky areas, apply a fleck more than wax and vitrify.
For horizontal surfaces that will become a lot of clothing such as a tabular array top or dresser top, I add a second coat an hour or so later.
I usually continue to utilise the cloths until they are no longer functional, so toss them, but they can be washed.
Nighttime or Colored Wax
If yous desire to enhance your finish or highlight details with dark or colored wax to add together a bit more character, use after the clear wax and in modest amounts. Chalk paint is very porous and volition really soak up the darker waxes, so this will prevent that and give y'all a fleck more control. If you utilize too much, add together a trivial clear wax to remove information technology. Keep to work it into the surface until it feels shine to the touch. Apply a separate material or brush for each kind of wax.
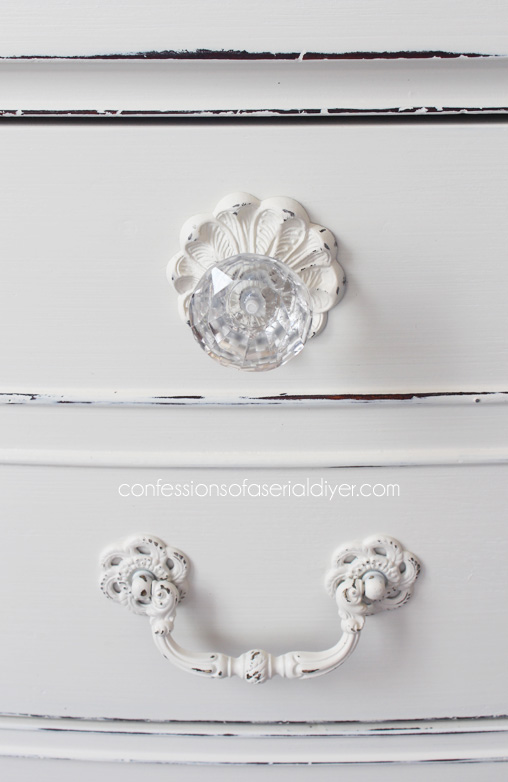
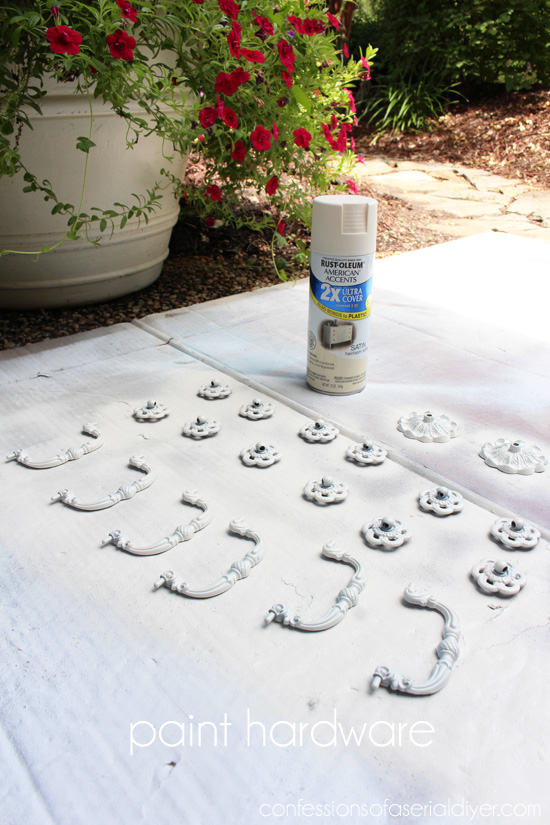
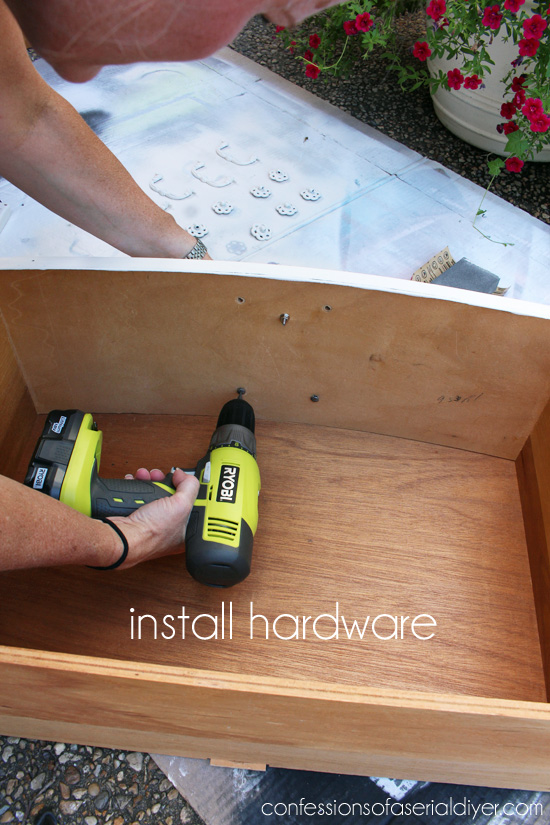
Install Hardware
Adding the jewelry is my favorite part! I dear when I tin reuse the original hardware. I often use chalk pigment for the hardware as well, just sometimes I apply spray paint as I did for this dresser. Rustoleum is my favorite brand of spray pigment. This is Rustoleum in Satin Heirloom White
When the paint is dry out, give it a quick sanding:
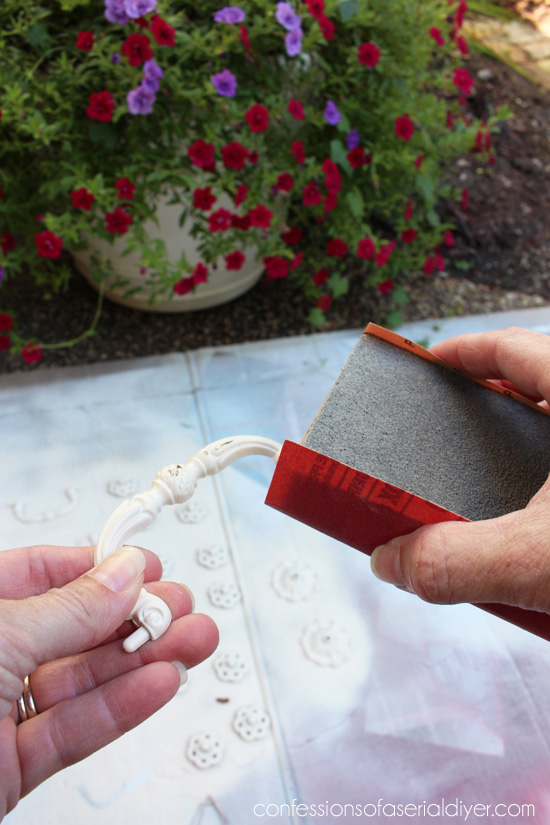
Or if you lot are using chalk paint, you can even employ your fingernail to scratch a piddling paint off here and in that location to give it a distressed stop.
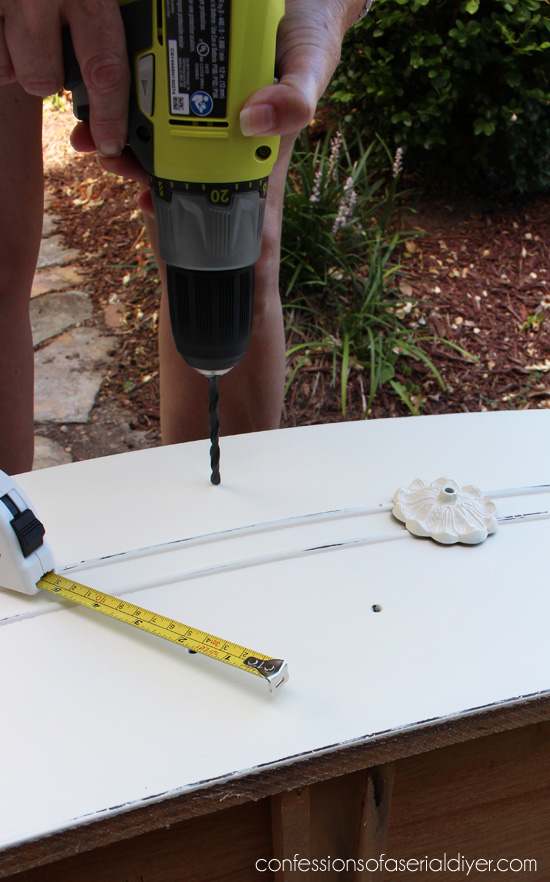
For this dresser, I had to drill new holes since I patched the sometime holes earlier…
Line Drawers
This step is optional of course, only if your project slice has drawers, lining them is the icing on the block:
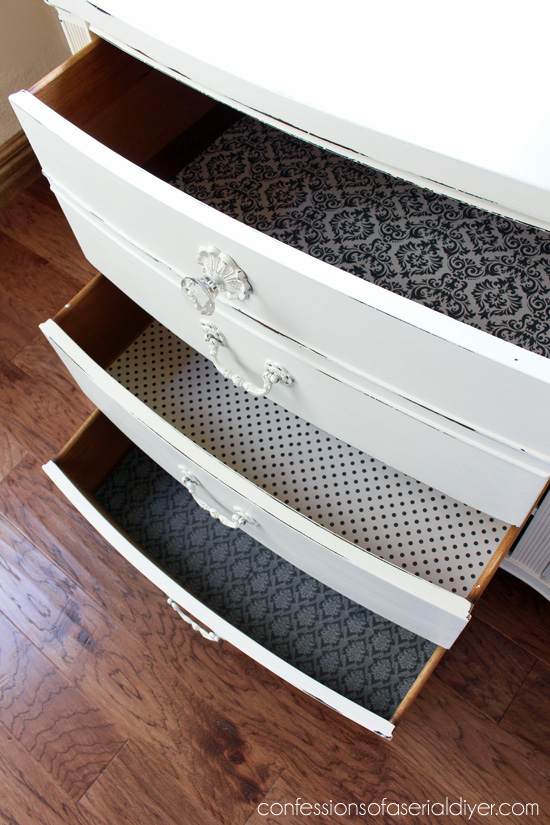
Here I used 12×12 scrapbook paper from Michaels that I already had on paw. A rotary cutter and straight edge arrive super easy to cut the pieces. Try to match up the pattern for a seamless await.
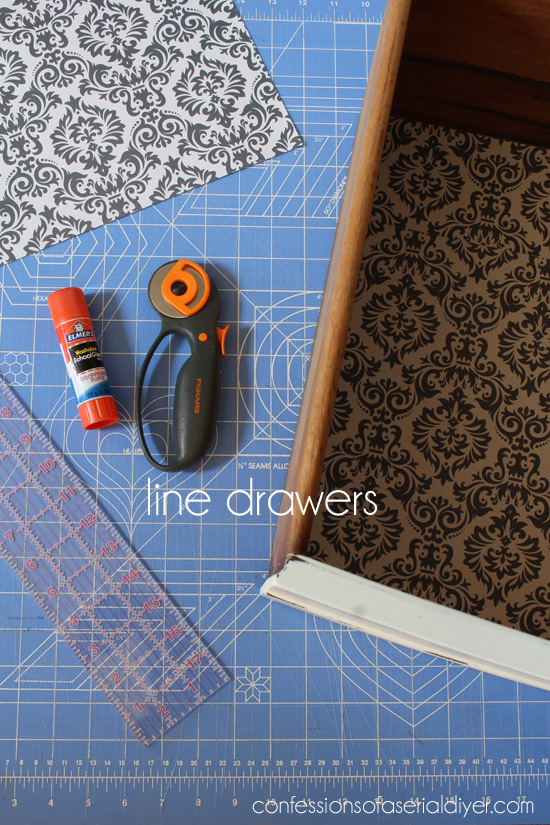
A gum stick is a simple and inexpensive way to adhere the newspaper to the bottom.
Even so, I normally prefer to use fabric every bit I can easily cover the whole bottom of the drawer without whatever seams, and you won't take to contend with any pesky air bubbles that you get with newspaper. I utilize that with Matte Modern Podge and a flake brush. You can meet how I do that in the video below:
If you have trouble viewing, find it on YouTube HERE.
Stand back and admire!
That'due south all at that place is to it. Not besides bad, right?
If y'all want to see chalk painting in action, view my video tutorial beneath!
Visit all my Video Tutorials in one identify HERE.
These are the tables shown in the video:
Feel free to browse my DIY Project Gallery to encounter all my projects in one place, about of which are chalk-painted projects.
Chalk paint is non simply for article of furniture either, it works wonders on metal, plastic, laminate, glass, and fabric!
I hope this answers whatever questions you accept almost painting with chalk paint.
Want to save this for after? Pin it!
Prepare to try out some products for yourself?
Visit my Etsy Shop HERE, and enjoy Free SHIPPING on all orders over $50. The discount will automatically be practical at checkout!

All the same accept questions about what products to use?
I put together a handy Dixie Belle product reference guide Here!

Feel free to attain out to me via the Contact Me tab if you have whatever more questions!
Happy painting!
XOXO,
![]()
Don't Miss a Thing!
If you like what you come across, there are several ways to follow along!
EMAIL *INSTAGRAM * FACEBOOK * PINTEREST * TWITTER


Source: https://www.confessionsofaserialdiyer.com/how-to-paint-furniture-using-chalk-paint/
Posted by: kiferfrimply.blogspot.com
0 Response to "How Much Chalk Paint Do I Need To Paint A Dresser"
Post a Comment